
Setting Up the Environment for PHP | PHP Tutorial
Before starting PHP, we have to set environment for it. PHP is available for almost all platform. To set up the environment for PHP you need three components must be installed on computer system.
Three main components for PHP :
1.Web Server :
PHP is mostly used with Apache Server which is freely available and but you can use any other web server including Microsoft’s IIS (Internet Information Server).
2. Database :
You can use PHP with any database like Oracle, Microsoft SQL Server, PostgreSQL, etc.
But PHP is mostly used with MySQL database which is freely available.
3. PHP :
Install the PHP as per you platform (Windows, Linux or Mac OS X) and instructions regarding installation you can read on the official website of PHP “https://php.net/manual/en/install.php”.
Understanding LAMP, XAMPP and WAMP :
- LAMP stands for: Linux – Apache – MySQL – PHP (can also be Python or Perl)
- WAMP stands for Windows – Apache – MySQL – PHP (can also be Python or Perl)
- MAMP stands for X (X means cross or cross platform), Apache – MySQL – PHP (Perl)
- XAMPP stands for Mac-OS X – Apache – MySQL – PHP (can also be Python or Perl)
These help PHP websites by providing local server so you can see your website before uploading on your computer.
LAMP, WAMP, MAMP, XAMPP are the types of software stack consists of Apache web server, MySQL database and support for one of the programming languages including PHP, Perl or Python on Linux Operating System, Windows OS, Mac OS, and any other cross platform (any Operating System) respectively.
Lets install WAMP server 🙂
Step -1 : First download the WAMP server from the
“https://www.wampserver.com/en/download.php”
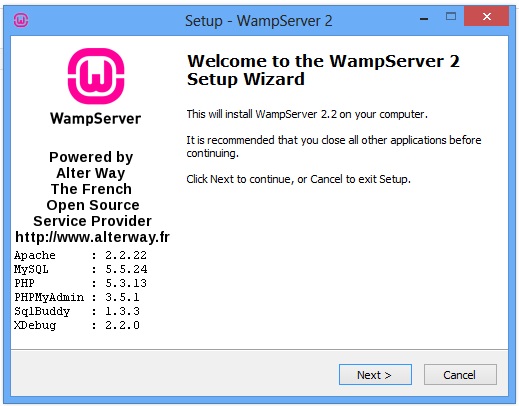
Step -2 : Install the Software : WAMP Server and click on the NEXT button.
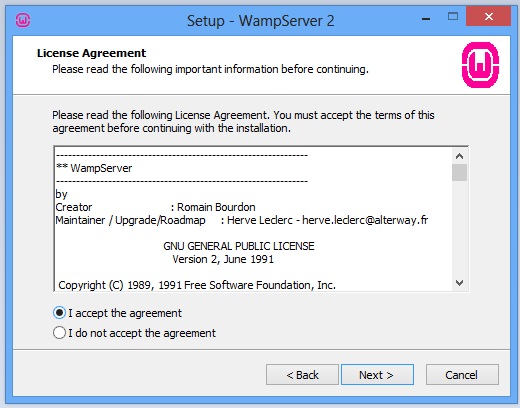
Step -3 : Accept the agreement and click on the NEXT Button.
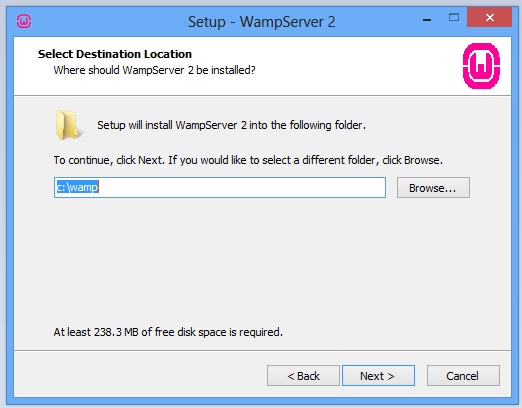
Step -4 : Select the folder where you want to install your WAMP Server on your computer.
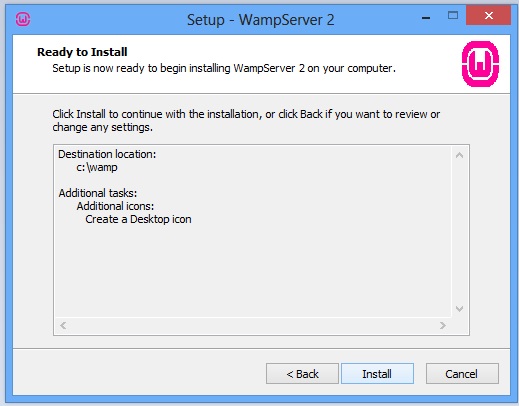
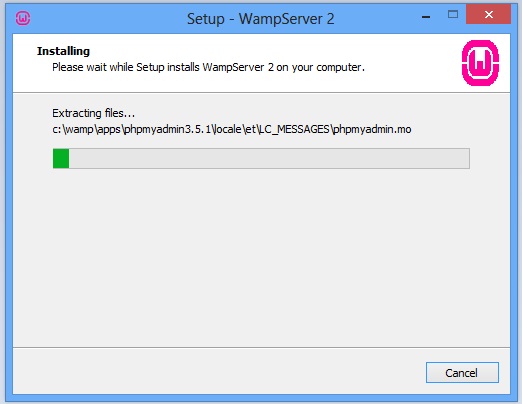
Step -5 : Click on the Install button.
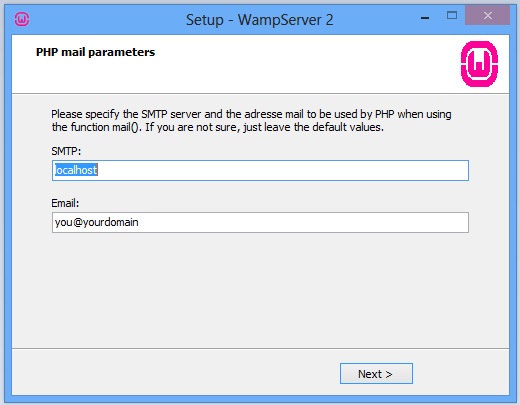
Step – 6 : Set up the PHP Mail parameters (Optional) but default values are there if you don’t want to change and click on NEXT button.
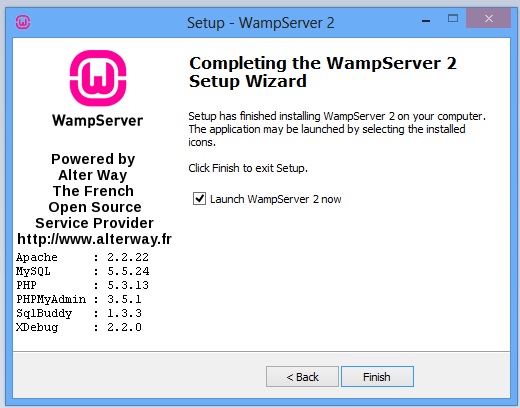
Step – 7 : Click on the FINISH Button and your WAMP Server is ready to use.. 🙂
Now, Lets Test the WAMP Server :
1. Double click on the WAMP server icon on desktop or Start -> Programs -> WAMP Server .
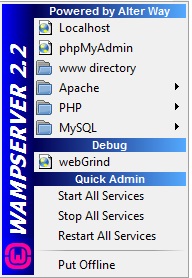
2. Now at the extreme right of status bar of your screen, do right click on the logo of WAMP server “W” and click on PUT Online, then click on Start All Services.With that the WAMP logo “W” will turned from Red color to Green color (orange color is the indication of some service running) i.e. WAMP server is running.
 Now, click on the Localhost :
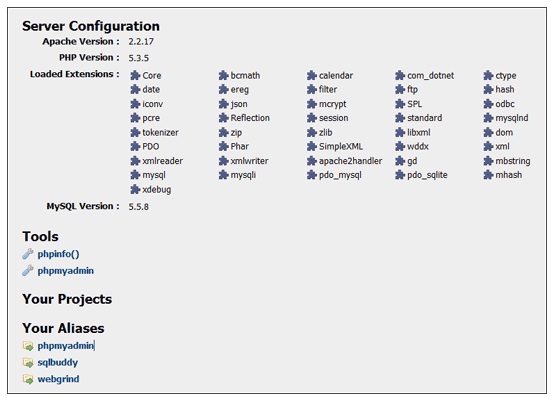
In step 4 we selected c:wamp as we wanted to install WAMP server in that location. After installation WWW folder is created inside that.This is the place from where you can execute your PHP Script.
This was all about setting up environment for PHP. In Next tutorial we will see why most people prefer combination of PHP and MySql and more about that.
Till that stay tuned…